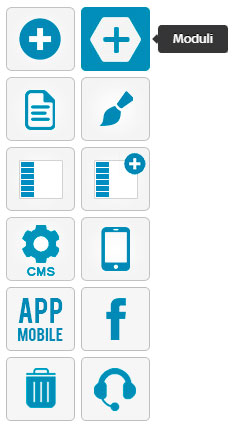
After verifying the presence of the Modules, go back and click the PAGE button

(in the left menu).
In the list is the PRODUCTS page (or Travels if travels module is active, etc.). You can change the page name,
but will always be the page for the Products module.
In the list is the PRODUCTS page (or Travels if travels module is active, etc.). You can change the page name,
but will always be the page for the Products module.

Now (after verifying the presence of the Modules and Pages in the website navigation menu)
click the page where you want to view the Products.
Of course, the Products page is the one where the Products are displayed, but you can put them all
or part of products in other pages of the website.
If you want to see Products in the homepage click the Homepage page, otherwise a different page.
Insert a container
If you want to see Products in the homepage click the Homepage page, otherwise a different page.
Go to the page where you want to view the products Click on the MODULE button in the left menu


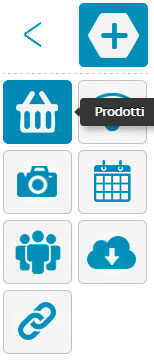
Click the PRODUCTS button
 and access the menu of the Products module.
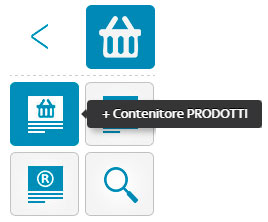
Now, click the PRODUCTS CONTENT button
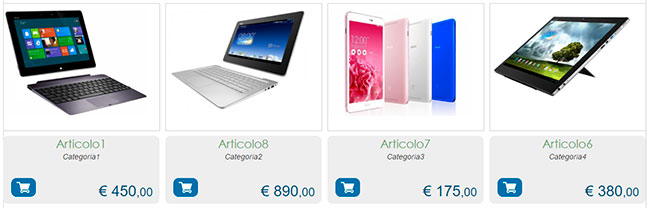
 If you previously uploaded CMS products, you will see the uploaded products.
You can now customize the display of your products. Move with the mouse the container that
appears on your page (if the products are not loaded from CMS the container is empty).
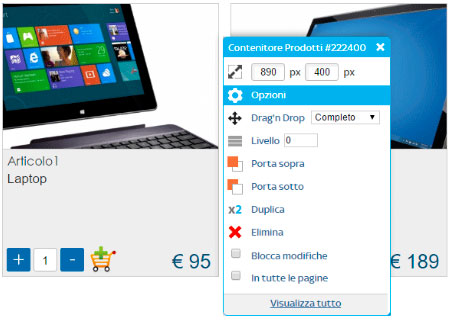
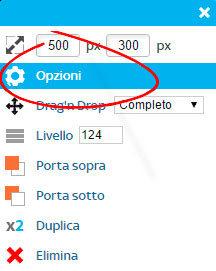
Right-click to access product container options.
Container options
Right-click on the product container to access the options.
Click the OPTION button of the menu that appears.
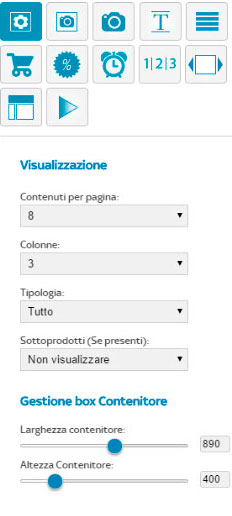
Now you can access all the options for modifying the product container.
You can change the size of the container (where the Products are displayed) both width and height.
Now change how many content (products) per page you want to display, the number of columns to display
the products and the typology, ie which products are inserted into the container automatically or manually.
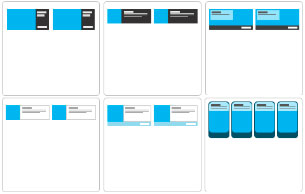
To view Products immediately, click the LAYOUT button

among the editing options.
Choose a layout already made by our charts and immediately view the products.
You can change the graphic settings and customize the layout.
Uploading Products (CMS)
Click the CMS button

in the left menu.
You will open another web site management window on your browser.
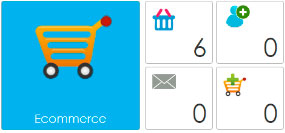
Example of Cms display:
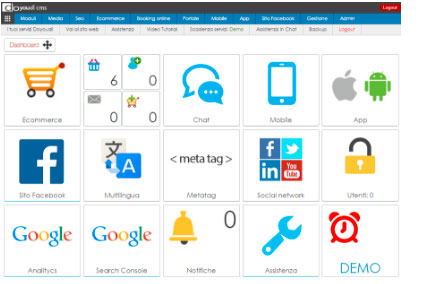
Based on the active forms of your website you can see the products icons,
ecommerce, travels, accommodations, events, etc ...
In the case of an e-commerce website, click the ECOMMERCE button.
Access the list of loaded products, which may also be empty.
The list contains products with a brief summary of data (title, category, price, etc ...).
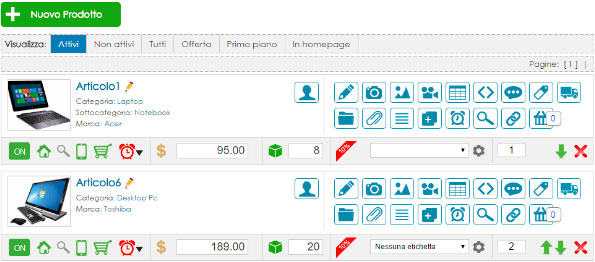
The icons below (below the image of the product) indicate the states of the Product.
If the product is ON / OFF, if visible on the homepage, if visible in the mobile version,
if e-commerce is active, if a timely bid is active.
You can also view and modify the cost and quantity immediately.

On the right of the Product there is a set of icons. By clicking on each icon you can enter or edit
data, manage photo and gallery, insert a video, list, insert html code, manage comments,
create attributes, manage shipping costs, tabs and related content, attachments, notes,
duplicate the product, create a timely bid, preview product preview, related products, and by-products.
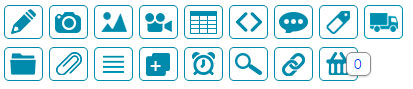
You can also enter the status of the offer, change the order of display, or delete the Products.

Click the NEW PRODUCT button to load a new product.
Details page
Click on the product box inserted to access the detail. Once on the product detail page,
right-click. Now, on the menu that appears (as in the photo), click the Options button.
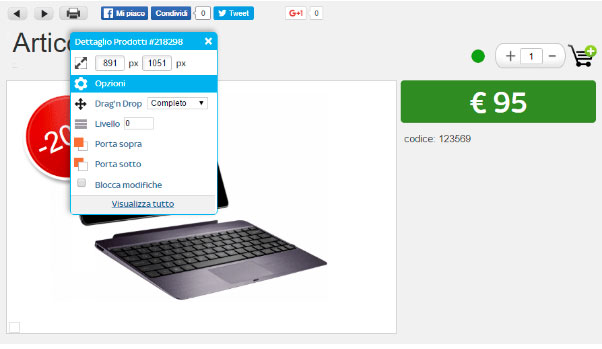
Access the Options to customize the Product tab.
As you have previously done to customize the Products container, proceed with customizing the
values available from the Product tab options.
To view the product immediately with a pre-set layout, click the Layout button

and selects a visualization layout and then customizes it.
Search engines
To enter one or more search engines, click on the MODULE button in the left menu, then press the button
Products Module (or other Module) and finally the SEARCH ENGINE button
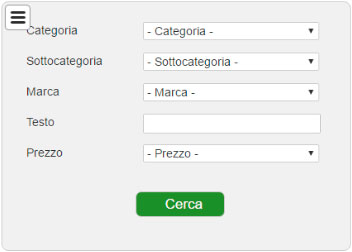
The Search Engine appears on your website.
Move the Engine where it is needed and click the top left button
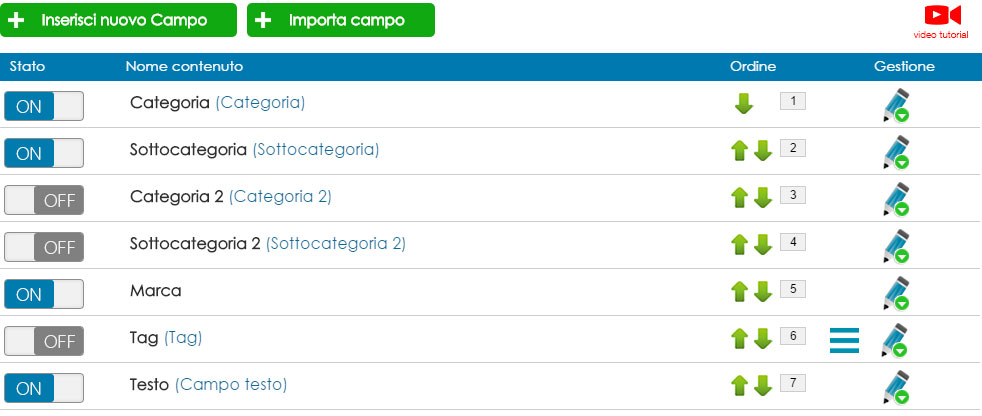
Field Management

to access the search fields.
Displays the list of active and inactive fields. You can enable / disable fields, change position,
name, create or import new fields.
Click the INSERT NEW FIELD button to create a field in the search engine,
enter the name and type of search.
 Create new fields and values
From the web site, click the icon to the left of the search engine to access the fields and click on the INSERT NEW FIELD button
Enter the title and field typology.

In the Fields list, displays the new field. Click the Manage Values button

Now click the INSERT VALUE button and proceed with entering the values for the new field that you entered.
After creating the new Fields and their Values go to
CMS.
From the CMS, go to the Products list (for the Products module), Travels for the Travels module, etc. ... and click on the icon
Edit in the product icon set.
In the product data tab, click the SECONDARY FIXED button
(the button is up, under the blue horizontal icons, next to the MAIN LINKS button).
In Secondary Fields displays all the values previously entered.
Now check the checkbox boxes for the values to be assigned to the specific Product.
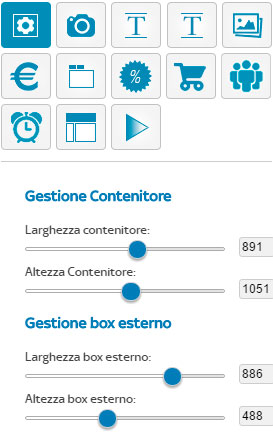
Now right-click on the search engine to access the editing options.
Click the OPTIONS button.
You can manage fields, change engine dimensions, manage field positions, and text.
 Target container
The Target Container is available for search engine options.
You can select the container in which to search, remaining on the same page as your search.
For example, you can put more searches on the same page, or avoid making a page change to get the search result.
You can also target the search result to a specific page of the website.
 Search Engine Type
You can define whether the main fields of the engine must be related to each other,
then return different values according to the selected options.
For example, if the Destination field is in relation to the Type field, the values returned from the field
Types will depend on the value entered in the Destination field.
Fields can be related, not related, in relation to cascade.
The cascading report forces you to follow a search path in the engine.